The Short Answer
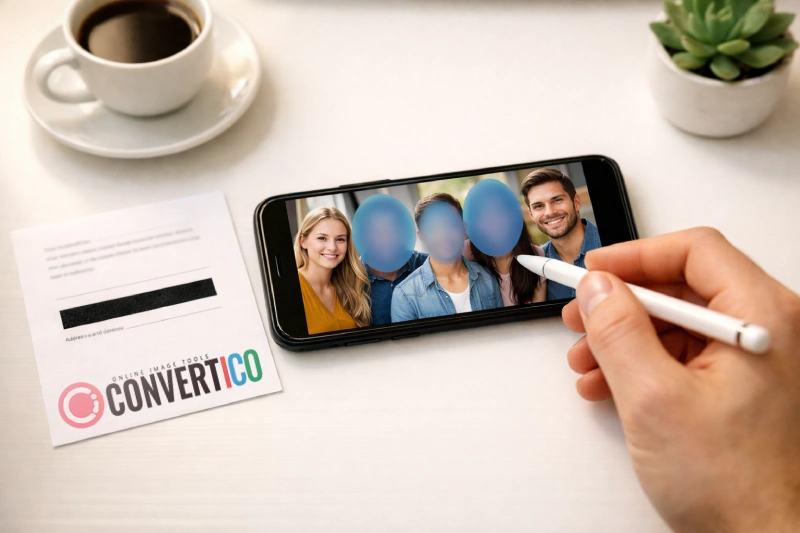
Open the free Censor Photo tool and drop in your picture.
Click Detect faces or Find sensitive text, check the boxes it draws, pick blur, pixelate or a black box, and save.
Everything runs in your browser, so the photo never leaves your device. The saved copy has no hidden layers and no EXIF or GPS data. The rest of this guide covers which method to pick, what people forget to hide, and the mistakes that let censored details leak back out.
Blur, Pixelate or Black Box?
All three hide things, but not equally well.
We ran the same made-up card number, email and phone number through each one:
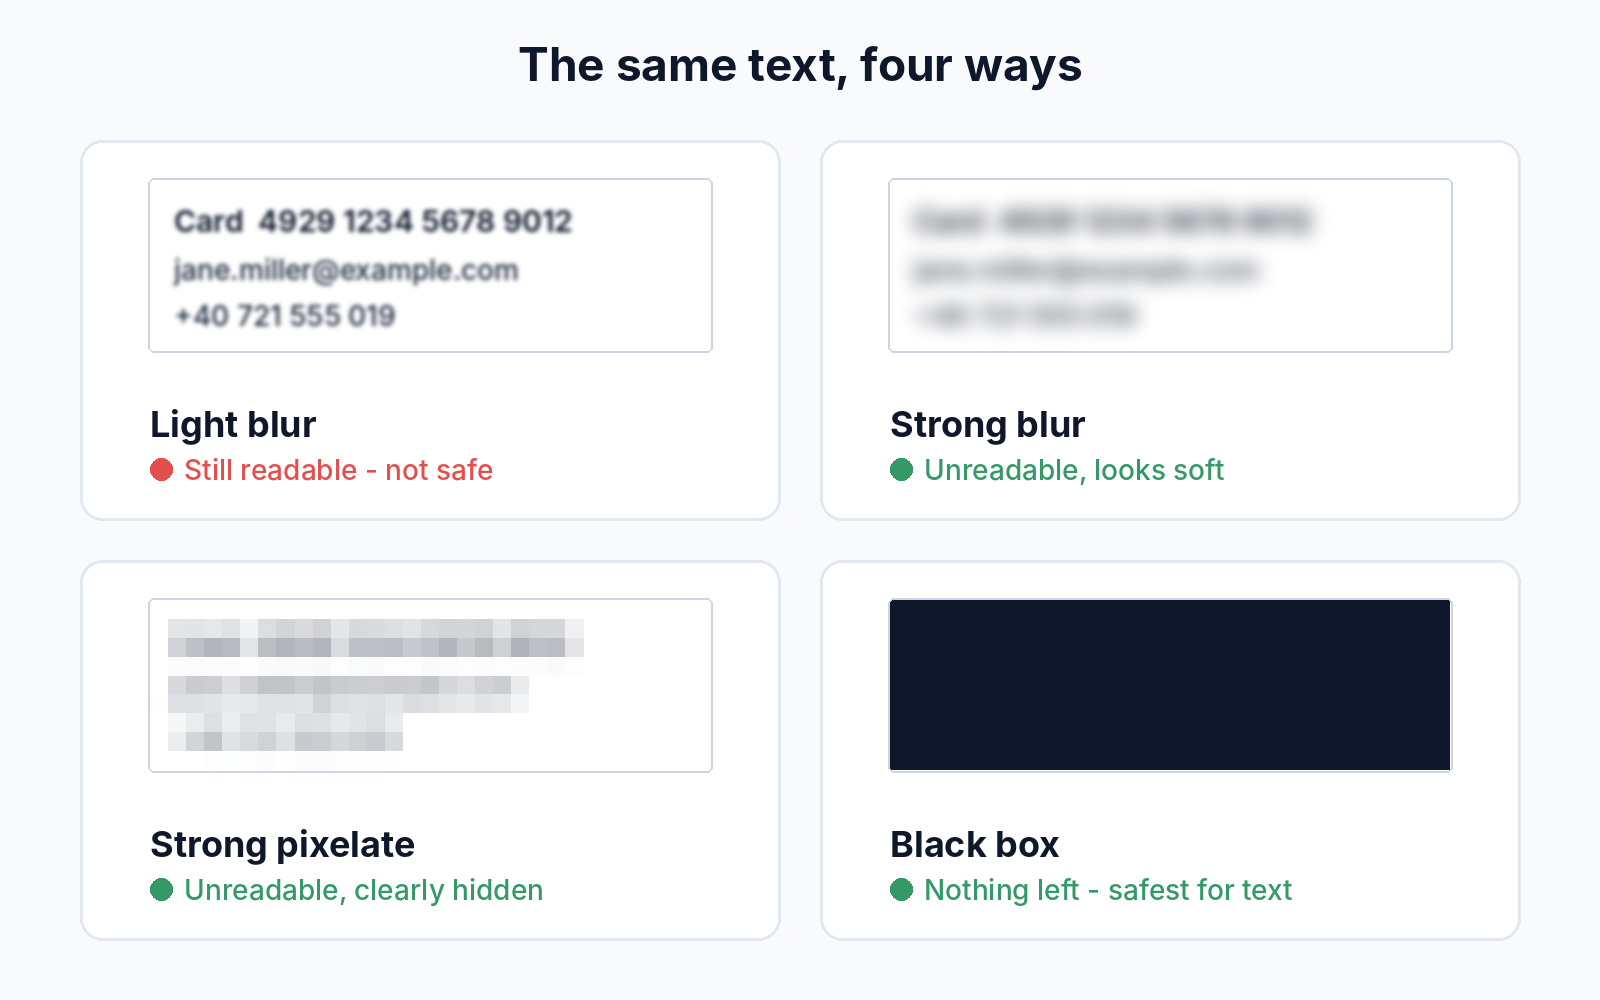
A light blur only softens the edges - your brain fills in the rest. Researchers have also shown that weak pixelation of text can be reversed, by matching the blocks against a known font (the open-source Depix tool does exactly that). So the rule is simple:
| Method | Best for | How safe |
|---|---|---|
| Black or colour box | Text: card and account numbers, names, addresses, passwords, QR codes | Safest - nothing of the original is left |
| Strong pixelate | Faces, licence plates, screens in the background | Safe when the blocks are big |
| Strong blur | Faces and backgrounds when you want a softer look | Safe when strong; weak blur is not |
| Light blur | Only for a look, never for privacy | Not safe - often readable |
Why our blur and pixelate are irreversible: at strong settings, the Censor Photo tool shrinks the area down to a few coarse blocks before it draws them, so the detail is gone from the saved file - not just covered.
How to Censor a Photo Online
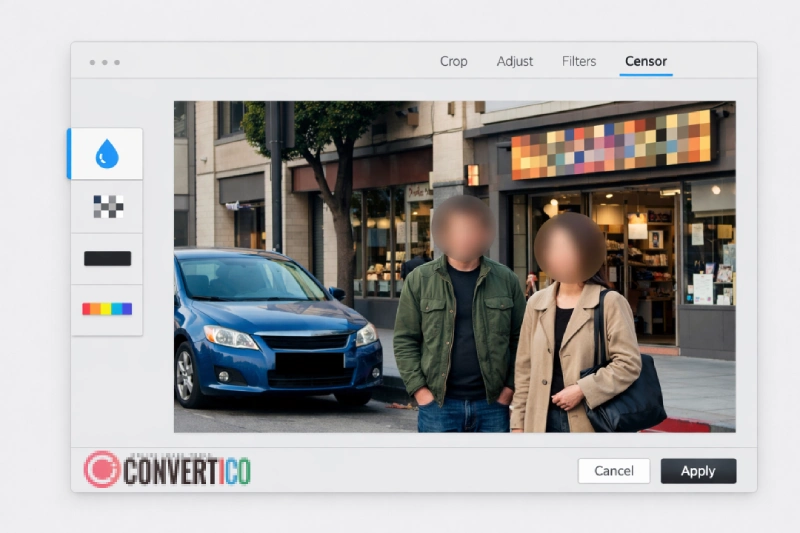
- Open Censor Photo and drop in a JPG, PNG, WebP, GIF, BMP or AVIF (up to 40 MB).
- Click Detect faces to box every face, or Find sensitive text to find emails, phone numbers and card numbers. You can also draw areas yourself.
- Pick the shape: box, oval (good for faces) or freehand brush.
- Pick the effect: blur, pixelate, black box or a colour box, and set the strength.
- Zoom in and check every area - move, resize or delete boxes as needed.
- Save as PNG, JPG or WebP.
Want to hide everything except the subject? Use Blur background with a rectangle or oval focus, or Blur entire image for a teaser or a spoiler.
Censor a Photo in Your Browser
Blur, pixelate or box out faces and text. Auto-detects faces and personal details. Nothing is uploaded.
Censor PhotoLet the Tool Find Faces and Text
Finding every face in a crowd by hand is slow, and it is easy to miss one.
Faces
Detect faces has two modes. Fast loads a tiny model (about 190 KB) and handles normal photos. Thorough loads a bigger one (about 5.6 MB) and catches small, turned or partly hidden faces in group shots.
Each face gets a box you can review: untick false alarms, drag or resize a box, then press Apply. Add some padding so hair, ears and jawlines are covered too - a recognisable outline can be enough to identify someone.
Sensitive Text
Find sensitive text reads the picture in your browser and boxes:
- Email addresses, phone numbers and links
- Card numbers (checked with the Luhn test, so random digits are skipped)
- IBANs and IP addresses
- Any custom words you type in - a name, a street, a company
- Optionally dates and long ID numbers
It is a strong helper, not a guarantee. Handwriting, tiny print and text at an angle can slip through, so look over the picture yourself before you save.
Only want the text, not a censored copy? The Image to Text tool pulls the words out of a picture so you can copy them.
Censor Many Photos at Once
Got a whole event folder or a batch of screenshots?
Add several images, switch the scope to All images, and run face or text detection on the whole batch. Check each picture, then click Download all - more than two images come as one ZIP file.
To make the batch lighter before you post it, run it through the Image Resizer or Compress JPG afterwards.
Screenshots, Documents and PDFs
For text in a picture, always use a solid box.
For a PDF, censoring a screenshot of it is not enough if you also share the PDF. Drawing a black shape over text in a PDF editor often leaves the text underneath, where anyone can copy it out. Use Redact PDF, which removes the text itself, not just covers it.
Want to point at something instead of hiding it? The Image Annotator adds arrows, boxes and labels to screenshots - and works well together with censoring.
Common Mistakes
1. A Light Blur on Text
It looks hidden on your screen, but zoom out and it is often readable. Use a black box for any text.
2. Cropping Instead of Censoring
In 2023, bugs in the Google Pixel Markup editor and the Windows Snipping Tool ("aCropalypse") left the cut-off part of screenshots inside the saved file, where it could be recovered. Phone editors also keep the original so you can undo an edit. Cropping with a tool that writes a new file, like the Image Cropper, avoids both problems.
3. A Semi-Transparent Highlighter
A marker stroke at 80% opacity can be lifted with a simple levels or contrast change. Use a fully opaque box.
4. Hiding the Face, Not the Name
A blurred face next to a name tag, a username or a distinctive tattoo still identifies the person.
5. Saving in a Layered Format
A PSD, a PDF with annotations, or an editor's project file keeps the original under the censor layer. Export a flat PNG, JPG or WebP.
6. Sharing the Original Too
Check that the uncensored version is not also in the same album, chat or cloud folder link.
Frequently Asked Questions
How do I censor a photo online for free?
Open the Censor Photo tool, drop in the picture, mark the areas (or let it find faces and personal text), choose blur, pixelate or a black box, and save. It is free, needs no account and runs in your browser.
Is blur or pixelate better for hiding faces?
Both work for faces when they are strong. Pixelate makes it obvious something was hidden; blur looks softer. Avoid light versions of either - a recognisable outline can still identify someone.
Can a blurred or pixelated image be unblurred?
A light blur or a fine pixelation of text can sometimes be reversed or guessed, for example with tools that match pixel blocks against a known font. A strong effect that throws the detail away cannot. For text, a black box is the safest choice.
What is the safest way to hide text in a screenshot?
A fully opaque black or colour box, saved as a new flat image. Do not use a highlighter, a light blur or a crop in an editor that keeps the original.
Are my photos uploaded when I censor them?
No. Face detection, text detection and the censoring itself all run in your browser. The picture never reaches our server.
Does censoring remove the location from a photo?
With our tool, yes - the exported file is re-encoded without EXIF or GPS data. Other editors may keep it, so check with an EXIF viewer if you are not sure.
Can I censor several photos at once?
Yes. Add multiple images, run detection on all of them, review each one, and download them together - more than two come as a ZIP.
How do I blur a licence plate?
Draw a rectangle over the plate and use a strong pixelate or a black box. Include the plate frame if it shows the dealer or town.
Still stuck? Ask us - we reply faster than a JPEG loads on dial-up.
The Bottom Line
- Text? Use a solid box.
- Faces and plates? Strong pixelate or strong blur - never light.
- Look beyond faces: reflections, screens, barcodes, name tags
- Save a flat new file - no layers, no EXIF, no undo history
Hide What Should Stay Private
Blur faces, pixelate plates and box out personal details - in your browser, free, no sign-up.
Censor PhotoStill having trouble? Please contact us and we'll be happy to help!